

DATEV Meine Steuern: Upload supporting documents
Guide to the DATEV Upload mobil app. Install the app, log in via SmartLogin, take photos of your receipts and upload them to the correct tax year.
Introduction
Uploading your receipts is the part of DATEV Meine Steuern that saves you the most work – and the one we use most frequently for tax returns. You collect your tax-related documents throughout the year and upload them to the portal either gradually or in batches.
As soon as a receipt is uploaded, it is available to us. We link it to the relevant field in the tax return without you having to type anything in.
First, a few clarifications, as there is often some confusion regarding document uploads:
You do not need to pre-sort or name your documents – we’ll take care of that during processing.
Nor do you need to upload everything at once; you can open the portal and add to it whenever you like throughout the year.
This article explains which documents are required, how to upload them from your computer, how to scan paper documents effectively, and how to let us know when everything is complete.
Word-for-word transcript
The most important feature of DATEV Meine Steuern, which takes most of the work off your hands, is document uploading. You collect your tax-related documents throughout the year and upload them to the portal either gradually or in batches. As soon as a document is uploaded, it’s available to us. First, a few clarifications, as there is often some uncertainty regarding the document upload process. You do not need to pre-sort or name your documents. We’ll take care of that during processing. Nor do you need to upload everything in one go. You can open the portal and add to your documents at any time throughout the year. The following articles explain which documents are required, how to upload them from your computer, how to scan paper documents effectively, and how to let us know that everything is complete.
Entering documents via smartphone is described in a separate article:
Which documents are relevant for tax purposes
Anything that affects your income or your deductible expenses is relevant for tax purposes. In practice, these are mainly the following documents:
- Income: payslip, pension or retirement benefits, statements of investment income
- Income-related expenses: training courses, specialist literature, work equipment, job application costs, costs for a home office
- Pension and insurance: contributions towards health, long-term care, pension or third-party liability insurance
- Extraordinary expenses: medical costs, care costs, evidence relating to a disability
- Household-related services: tradesmen’s invoices, invoices for household-related services including proof of payment
- Donations: Donation receipts from charitable organisations
If in doubt, it is better to upload a receipt than to leave it out. We will check during processing which items are tax-deductible. Uploading one receipt too many costs nothing, but a missing one could cost you money.
Uploading receipts via your computer
Word-for-word transcript
If you wish to upload receipts on your computer, you must first log in to DATEV Meine Steuern. To do this, enter apps.datev.de.mytext into the search bar and then select DATEV Smart Login as your login method. Now open the Smart Login app on your mobile and scan the QR code. You are now logged in and can select the relevant tax year, then navigate to tax-related documents. You now have two options for uploading documents. Option 1 is to use drag and drop within the area, and option 2 is to click the ‘Upload document’ button, after which you can select the documents. Click ‘Open’ to upload the documents.
In the ‘Tax-related documents’ section, you can upload your supporting documents in two ways: via drag-and-drop or by clicking the button.
-
Log in and select the tax year
Open the portal at apps.datev.de/mytax and select the tax year to which the document relates.
-
Open the ‘Tax-relevant documents’ section
Go to the section where your supporting documents are collected.
-
Upload the file
Drag and drop the file into the window or use the ‘+ Upload document’ option and select the file from your computer.
-
Check the result
Check the overview to ensure that the document has been uploaded in full and is legible.
Suitable file formats include PDF and common image formats. You can upload multiple documents one after the other or in batches.
Scanning paper documents correctly
You will still receive many documents on paper. To ensure we can process them without needing to ask for clarification, legibility is key – not high resolution.
- Scan in black and white or greyscale to keep the file size small.
- Ensure the document is straight and fully captured, with no cropped edges.
- Save multi-page documents as a single, continuous PDF, not as individual snippets.
If you don’t have a scanner, take a photo of the document using the DATEV Upload mobile app. The app automatically crops the document and files it under the correct tax year \[Link zu einem Hilfsartikel\].
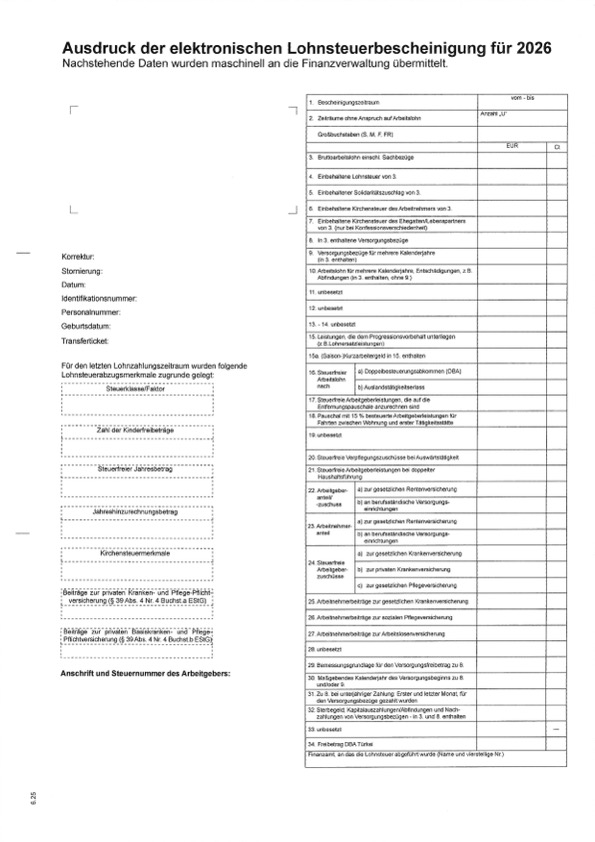
Good scan
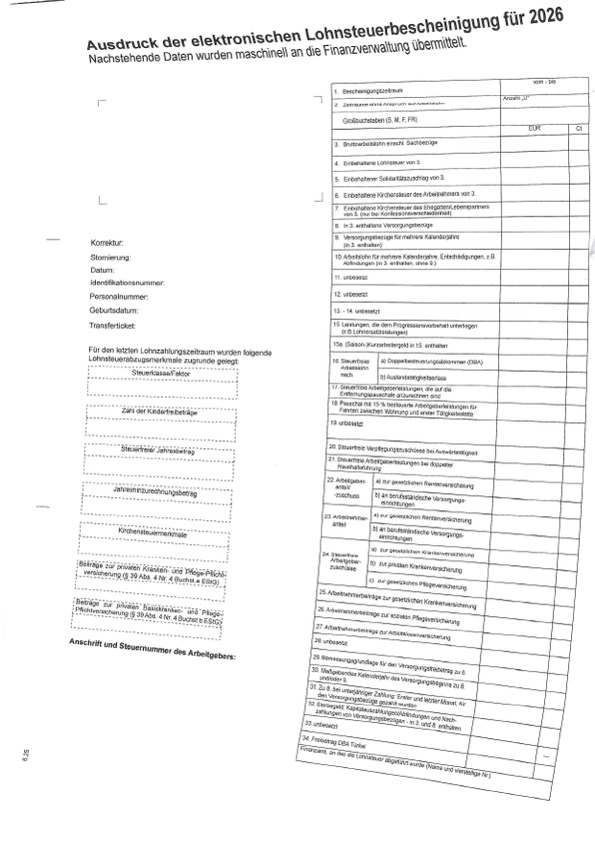
Poor scan
Notify us that everything is complete
Once you have uploaded all your documents for a tax year, let us know by clicking the relevant button in the portal. We will then receive a notification and begin processing them.
Word-for-word transcript
Once you have uploaded all your supporting documents for a tax year, you can let us know by clicking the relevant button in DATEV Meine Steuern. This notification acts as a signal for us to begin processing, as otherwise we might be waiting for further documents whilst your tax year has already been finalised. To give us the go-ahead, click on ‘Give the go-ahead’ below, and you can then carry out a duplicate check here. Otherwise, click the ‘Notify the firm’ button to trigger the notification by clicking ‘Notify now’.
This notification is the go-ahead for us. Without it, we may still be waiting for further supporting documents, whilst you assume that everything has been finalised.
Feel free to upload any additional supporting documents later and just let us know briefly. As long as we haven’t finalised the tax return yet, we can still include the document.
Division of responsibilities
Your tasks:
- Collect supporting documents and upload them to the correct tax year
- Ensure that scans and photos are legible
- Let us know when the documents are complete
Our tasks:
- Sorting receipts and linking them to the relevant fields on the tax return
- Check what is tax-deductible
- Enquire about missing or unclear supporting documents
We agree on exactly how to divide up the tasks on a case-by-case basis. Some clients handle the uploading entirely themselves, whilst for others we do it together.
Common sources of error
- Illegible scans: We have to reject documents that are crooked, dark or out of focus. This delays processing by an extra step.
- Incorrect tax year: A document from the wrong year is missing from the current tax return. Correcting this requires extra work on both sides.
- Duplicate uploads: If the same document is uploaded multiple times, it leads to queries about which version is valid. In case of doubt, the process is put on hold until this is clarified.
- Combined PDF containing multiple documents: We first have to separate several different documents contained in a single file. Uploading them individually is quicker.
- No confirmation of completeness: Without your notification, we may be waiting for further documents. This delays the return without there being any objective reason for it.
Frequently asked questions
Which file formats can I upload?
PDF and common image formats such as JPG or PNG are standard. A PDF is most practical for multi-page documents.
Can you see my supporting documents immediately after uploading them?
Yes. As soon as a document is uploaded, it is available to us in the system and can be linked to your tax return.
Do I need to name or sort my documents?
No. We take care of sorting and organising them during processing. You simply upload the documents to the correct tax year.
Can I delete a document?
As long as we haven’t processed a document yet, it can be removed. Documents that have already been processed are locked and marked with a padlock icon \[Link zu einem Hilfsartikel].
How large can a file be?
A small file size is sufficient for individual documents. If you scan in black and white or greyscale, the files remain small and can be uploaded quickly.
Can I upload documents throughout the year?
Yes. You can open the portal at any time and add documents. Many clients upload documents straight away as and when they arise.
What should I do with the original paper documents after scanning?
Please keep the originals until the tax assessment has been finalised. If necessary, we can discuss together whether and for how long you should retain them beyond that point.
Legal notice
This article provides an overview and is not a substitute for individual advice. Which documents are relevant for tax purposes in your case depends on your personal circumstances. The application’s functionality and menu navigation may change as a result of updates.
If you have any questions about specific documents, please contact us directly.
Last updated: June 2026